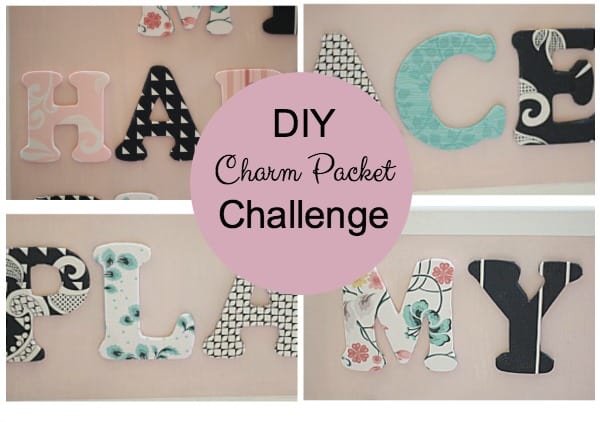
DIY Charm Packet Challenge
DIY Charm Packet. Do you know what that is? It’s not a secret, but a fun new product that has inspired a group of bloggers to have a challenge ~ a DIY challenge. With a fabric charm packet. So stick around and I’ll show you what this DIY charm packet challenge is all about.
Charm Packet Challenge: Easy DIY Project

Who watches Survivor? Next Food Network Star? Top Chef? Iron Chef?
We all love good~natured, fun competition. So I have one for you this week.
Several weeks ago several Texas bloggers met for lunch and a fun day of crafts at the home of Joyce from At Home with Jemma. The guest of honor was Karianne from Thistlewood Farm.
We had a wonderful time getting to know each other, laughing, and making a few crafts. Karianne graciously gave everyone a couple of the charm packets from her 2 lines of fabrics (Simply Eclectic and Sweet Tea) designed for Hoffman Fabrics. Someone came up with the idea for a challenge and this idea was born. Voting starts today and you can see all the projects and vote by clicking on this link.
The Challenge
Use the fabric samples, called Charm Packets, from Karianne’s line to create a DIY Project. I’m in, what fun!
So, what is the first step?
My Criteria
I wanted to use letters.
I wanted the project to be something I would actually use after the challenge.
I wanted it to be pretty.
My Project
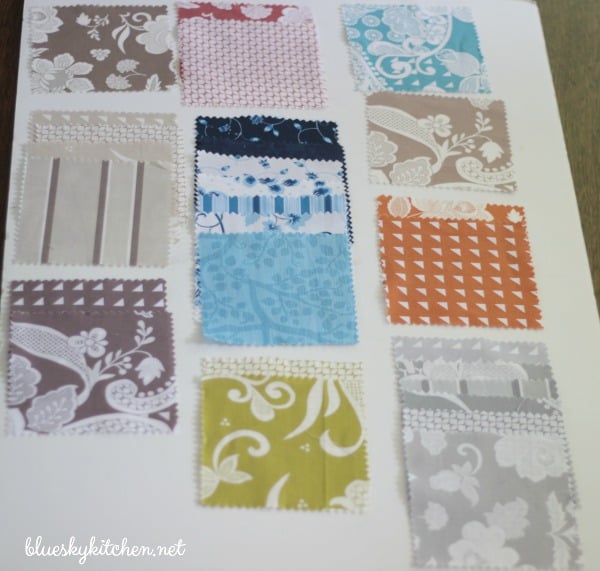
I unpacked all the fabric samples and laid them out to see the colors and patterns. There were 40 total squares and each fabric square is 5″. There appears to be about 10 patterns in 13 different colors. I easily saw that there were several fabrics that were in my favorite colors of pink and blue, all of which were in different patterns. There were 6 of those. Good start. I set them aside.
Since I wanted enough “letters” to spell something meaningful, I needed more fabric. The one color that pulled the pink and blue fabrics together was black. There were 6 samples in black, each with a different pattern. That gave me 12 “letters” to play with.

These were the leftover fabric squares. You can see the patterns and the other colors in the collections.
After thinking for a few days, I came up with a phrase that I liked. I hope to have a designated office someday, not just 2 feet of space on a kitchen counter, so this phrase described what will one day be my office. Now we were in business. My idea was jelling; I could see it in my mind.
Supplies
In addition to the fabric, I would need (I purchased my supplies at Hobby Lobby):
- the letters ~ 4~inch wooden letters in the right letters to spell out my phrase. Each pack held 2 letters so I needed 8 packs to get all my letters. 8 @ $1.99 = $15.92
- a canvas ~ to be the backboard for the letters. 1 @ $14.99 (50% off) = $7.50

3. glue ~ to attach the fabric to the letters. On Hand.
4. paint ~ for the canvas. On Hand.
5. Frog Tape ~ for the canvas. On Hand.
5. glue ~ to attach the letters to the canvas. On Hand
The Letters
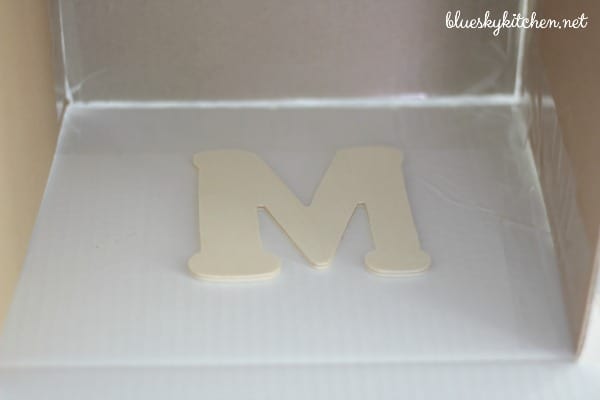
- I decided to use my Loctite Spray Adhesive to attach the fabric to letters. Since it has been way too hot to spray outside, I made my own “spray tent” out of cardboard and packing tape. I thought it was a clever idea.

2. I placed a letter inside the box and sprayed the top.
3. I attached the fabric to the letter, making sure that it was smooth across the top. I had already laid out the fabric squares to get the best pattern and variety on the letters.
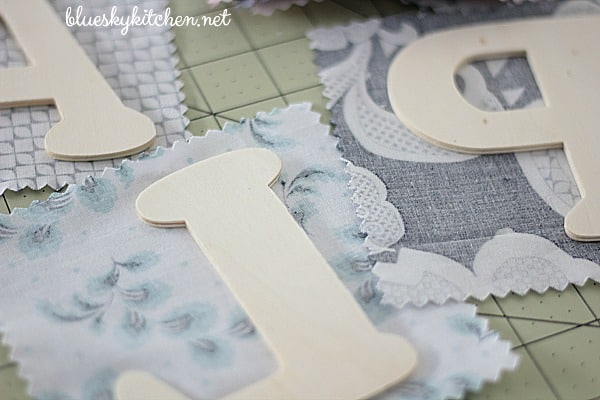
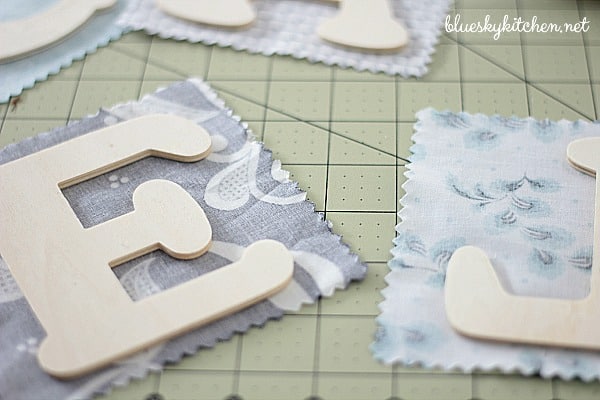
4. After all the fabric was attached to the letters, I used regular Elmer’s Glue and a small brush to glue the fabric to the sides of the letters. First I cut off excess fabric and cut slits and curves to account for bends and curves in the letters.
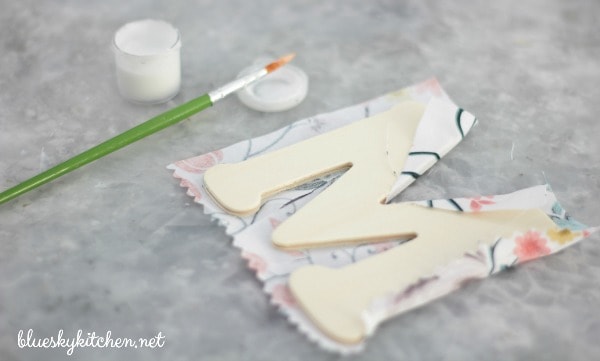
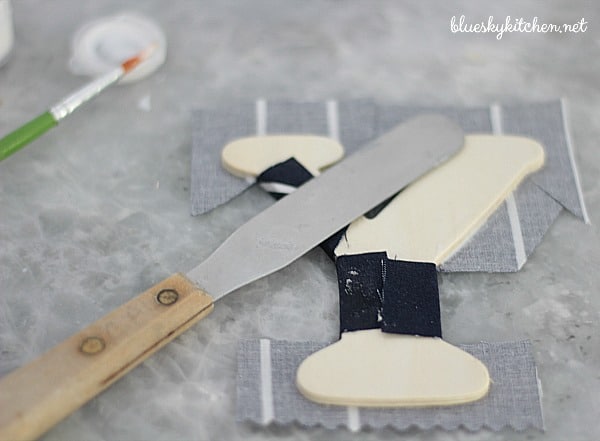
I found that one of my small kitchen spatulas worked well to press and hold the fabric to the glue. This was a bit tedious, but I was watching Wimbledon matches at the same time, so it wasn’t too bad.
The Canvas
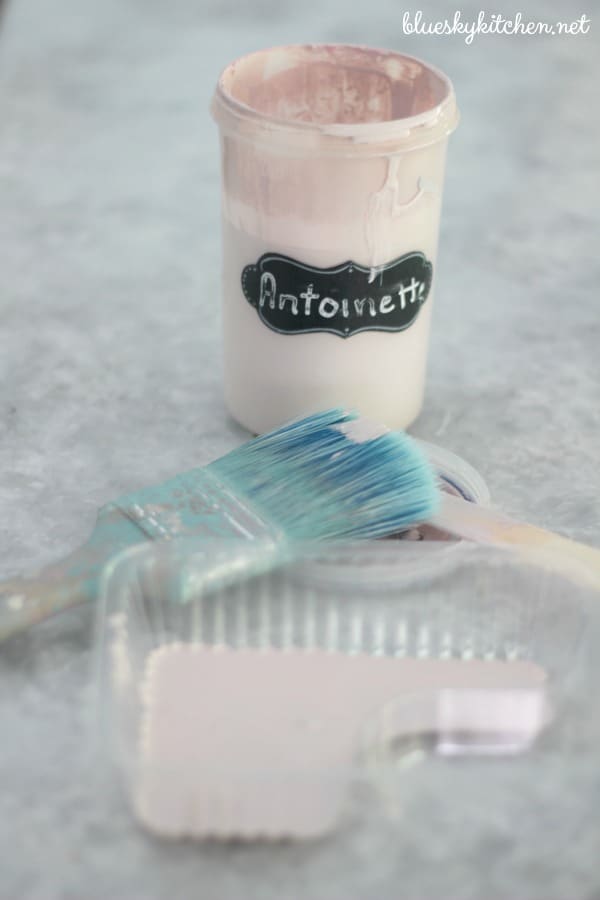
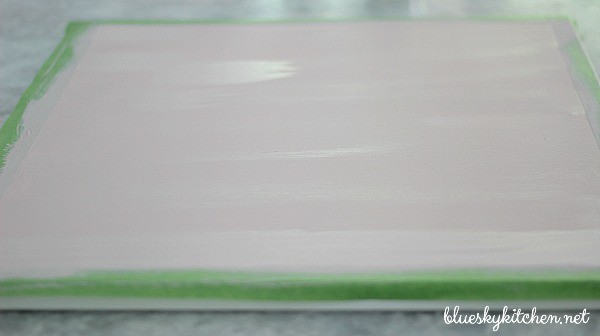
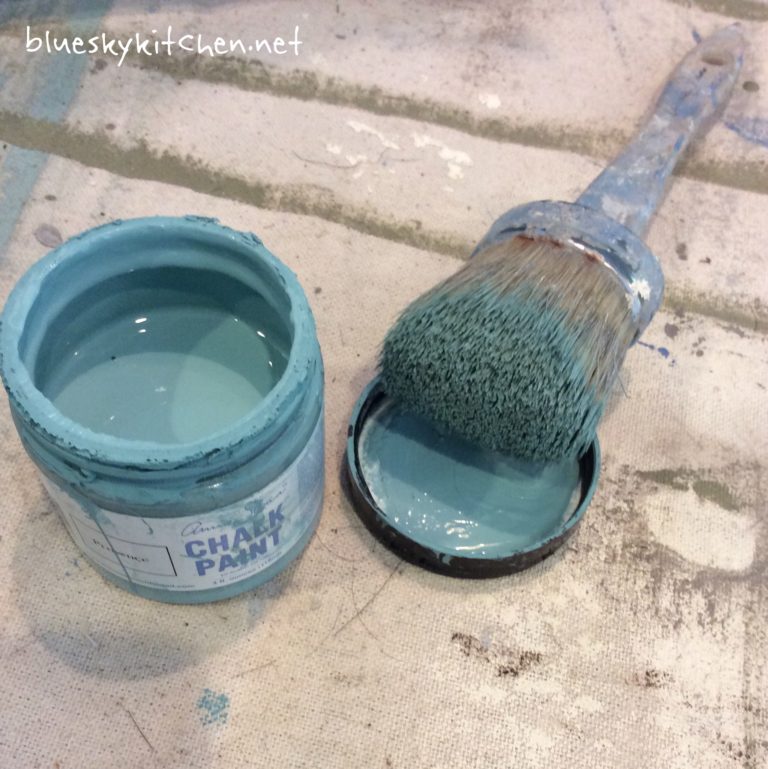
- Next I worked on the canvas. I knew that I wanted to paint the canvas to add interest and contrast with the letters. Fortunately, I had Annie Sloan’s Antoinette, a pretty soft pink left over from another project. I love this color and knew it would work well with the fabric on the letters.
2. To give the canvas a “framed” look, I used Frog Tape to create a 1 1/2~inch border.
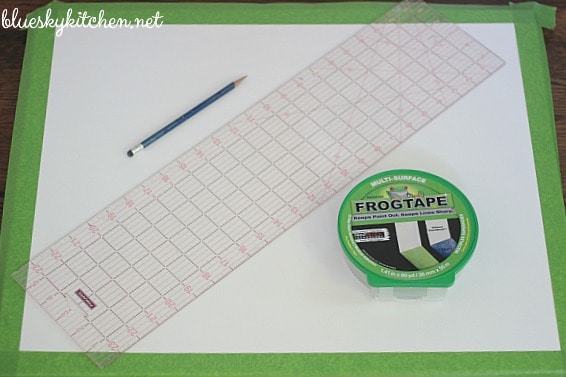
3. Then I painted the canvas. It took just one coat of paint. The Annie Sloan covered the canvas beautifully.
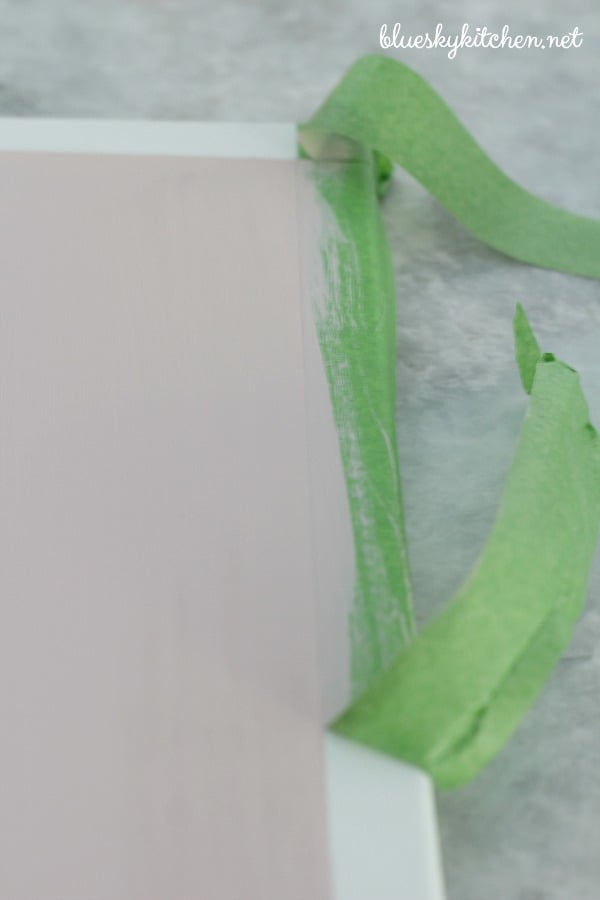
4. When the paint was almost dry, I removed the Frog Tape.
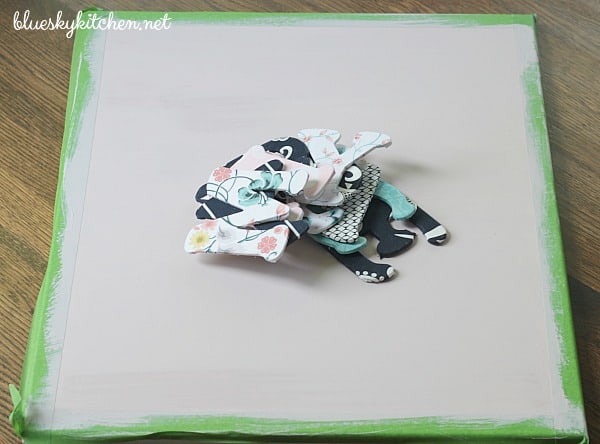
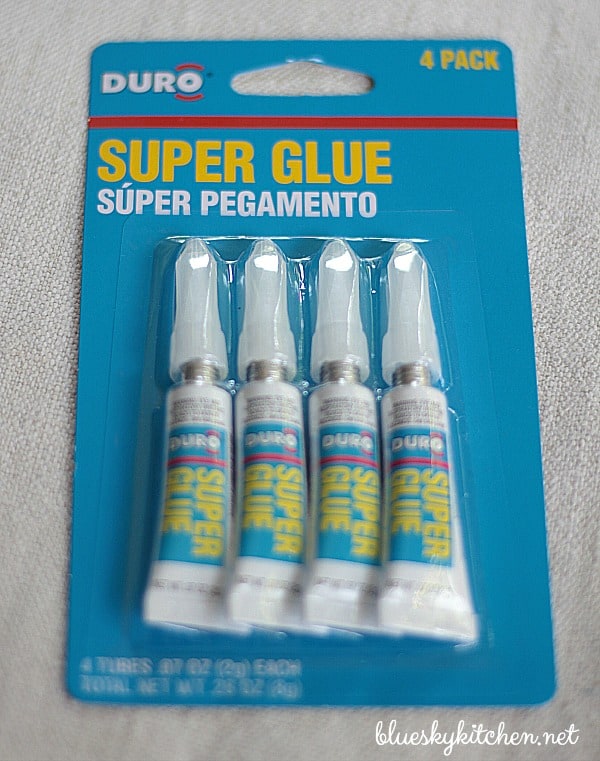
5. Finally, it was time to attach the letters to the canvas. I measured to center the letters and used Super Glue to attach the letters to the canvas.
DIY Charm Packet Challenge ~ The Big Reveal
When the project was completed, I was really pleased. Isn’t it great when a vision and a plan come together?
Did you guess what my phrase is?
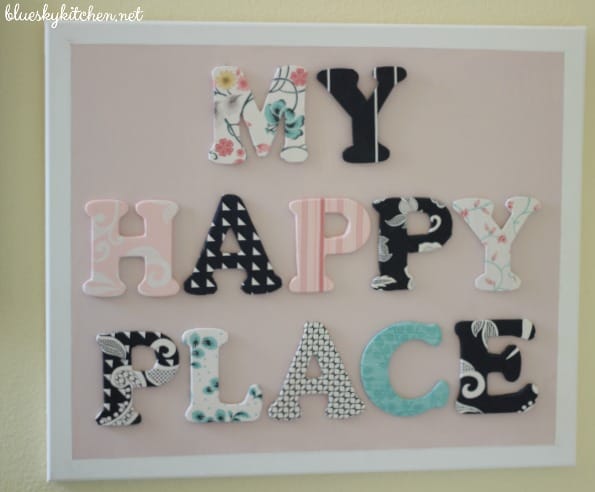
For now, I hung the canvas in our laundry room ~ which is not my #1 happy place. Until I have an office, the colors and patterns in the fabric make me happy. And when I see the sign, I’ll think how it will hang in my office one day. My purchased supplies cost $23.50.
Thank you so much to Karianne for designing these lovely fabrics and being the force behind this challenge. If you want to purchase the fabrics, you can find them here.
I hope you love my project and will give my DIY Charm Packet Challenge 2 thumbs up!!
Super Important ~ Starting Thursday, tomorrow, you can view all the projects and start voting. So please check back in tomorrow and vote.
Great changes on your blog layout and your project is gorgeous. Is clicking on your link considered a vote? I want to make sure I got it right. Thanks for joining us again at Celebrate Your Story and have a fun and creative weekend!
So pretty! Thanks for sharing at Vintage Charm! xokathleen
Hi Kathleen, Always love sharing. Please check out Your Inspired Designs on Thursday at 8:00 a.m. EST
Carol, your project turned out great! I would definitely feel happy looking at your sign 😀
Melony, thank you I think it turned out great.
Love the tag line Carol, and how your navigation bar is a direct reflection of it. Great Job on the challenge, and best of luck to you. Voting as soon as I leave here!
Thank you Paige for visiting Blueksky Kitchen and your endorsement of my project and the vote. I’ll hope you’ll come back to visit again.
Crafting is my happy place too! Such a great project!
🙂 Samantha
Samantha, thank you so much. I’m very happy that you visited Bluesky Kitchen. Thanks for the vote of condifidence!
Carol,
I like your use of the charm packs. And what a great phrase. Even though you don’t have your happiest place yet, you found a way to remind yourself of your dreams and plans. Can’t beat that!
🙂
Cecilia
Cecilia, it is a great phrase. Actually, every place you are should be a happy place. We make our own happy places!
Carol – this is awesome and thank you for the detailed instructions. I may have to get some of these letters I have a fun idea brewing. Enjoy your Thursday!
Carole, you are so welcome. Be sure to share your idea!!
Carol,
What a fun project! I love how the letters turned out! You should send this to FrogTape!
Happy day and thank you so much for participating!
karianne
Karianne, thanks so much. I just love the fabrics and since I have a weakness for pink and blue, I’m a fan. Such sweet patterns, too. I’d love to contact Frog Tape. Do you have a contact?
What a great way to showcase a variety of darling fabric Carol! Have a beautiful day!
Laura, I love the challenge because it made me make something I didn’t even know I needed, but now I love.
This looks great Carol!! The site, the project…everything! Way to rock it!
Thank you so much, tribe sister.
This is such a pretty use of fabric. And it really shows the individual character of each letter. I am also a huge fan of KeriAnne. Her blog is amazing.
Mary, thank you so much. The fabrics are so sweet and so many colors to fit in anyone’s decor.
You are very creative! Also good at it. That doesn’t look crafty but like something I would be and most definitely at $23~ Can’t wait to see the other projects!
Debbie, You are so sweet. I like sophisticated DIY, so I hope that shows. The other projects are awesome too.
Carol,
Your Sweet Tea Challenge board turned out fantastic. The pink background makes the fabrics stand out. Looking forward to seeing all the projects on July 14.
I,too, think your blog update is great. Slowly, but surely, I am trying to implement some of the ideas we learned from KariAnne at our gathering. Are you writing an eBook?
Judith
Thank you so much. Fun to do and fun to “redecorate” a bit.
Carol…….You always amaze me!! I look forward to your post every day! And i think Ive tríed and loved all your recipes! You are an inspiration…….wish I had your energy ❤️
xoxo Jill Jackson
Hi Sweet girlfriend. Thank you so much for the compliments. Means a great deal. Some days are more energetic than others!
We had such a great day and the inspiration was contagious!
Love your new and defined look and your project turned out so cute!
Jemma, Thanks so much. It was a great day and we need to do it again! Can’t wait to see everyone’s projects.
This is adorable!
Every single fabric in her line is amazing. 🙂
Thanks, Lisa. Yes, they are. I’m trying to coming up with a place to use more!
That turned out great, Carol. 🙂