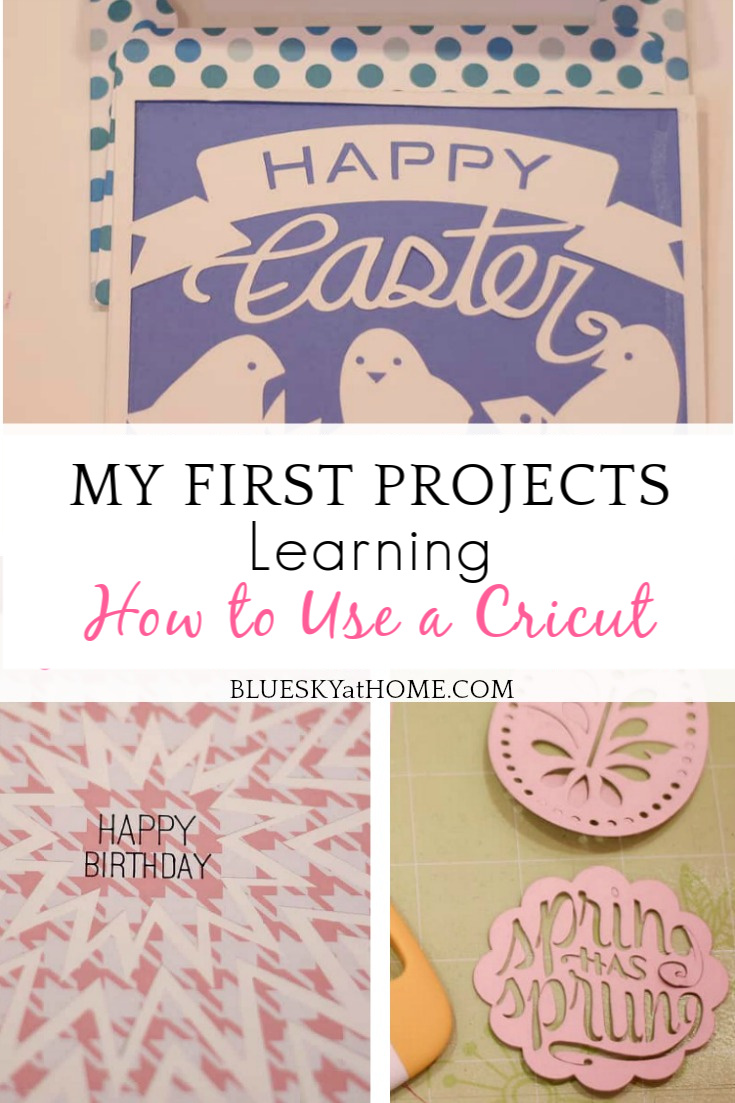
Learning How to Use a Cricut and My First Projects
I remember how excited I was to learn how to use a Cricut machine. Learning how to use a Cricut has been one of my goals for a while and now I can officially check that item off my list.
But it’s a little check. Because learning how to use a Cricut with competence and confidence, discovering how to unlock all its wonderful abilities, and taking advantage of all its talents will take time.
Once the machine was out of its box, I became a registered Cricut user, and I went to a class at Joann. Now the Cricut is sitting pretty in my office and I’ve actually made a project with it. My journey has begun. I am on my way to being a Cricut master.
So, just in case you don’t know what a Cricut is, here is the exact description from the website:” a Cricut is a “home die-cutting machine (or cutting plotter) used for scrapbooking and various projects. The machines cut over 100 different materials for the ultimate variety and versatility. You can make everything from cards and gifts to party and home décor, fashion and accessories, and more!”
Got it? A man’s toys are his chain saw and drill. Ours are DIY tools.
In reality, a Cricut is a DIYer’s best tool. Do you like to make things with paper, love stencils, and monograms? Do you like to stretch the limits of your creativity, enjoy making invitations, or party crafts? If so, the Cricut is what you should ask Santa to bring you for Christmas.
Now that we’re clear, I can’t wait to share my experience learning how to use a Cricut and show you my first projects.

Why did I want to learn how to use a Cricut? How did I become interested in a Cricut, you ask.
Pinterest, of course. I read a few posts about the cute, awesome projects people had made with a Cricut. These projects mostly involved paper, which I’m addicted to. They were so cute, so professional looking. It sure beat my paper cutter and scissors.
Then at Haven conference in the summer of 2016, a Cricut workshop was offered. Well, now I was totally hooked. I crossed my fingers and toes, hoping I’d be one of the lucky winners of several Cricut machines. But, alas, not. Still, I couldn’t get the Cricut out of my mind.
I kept watching for sales at my local Joann store and finally, in October, the Cricut Explore Air was on sale at what I knew was a really good price, so I grabbed it. I brought it home, and it sat upstairs in one of our guest rooms until January when my office construction was finished and then it sat under the workspace until the end of March when I went to a Cricut beginner’s class at Joann.
My First Cricut Projects: Learning How to Use a Cricut
I literally took the Cricut in the box to the class. Marcy, our instructor, showed me how to hook up the machine, log in to Cricut, register my machine, and connect it to my iPad. That took about 5 minutes.
Then the 5 of us in the class made several projects: a card and an envelope, a box, and a vinyl monogram. We learned how to insert a pen, a scorer, how to use a weeder (It is not a tool for getting weeds out of the garden.), and a spatula (not your mother’s kitchen tool).
It was such fun and I came home with stars in my eyes: I was part of the Cricut family, I knew how to make something with this machine that had seemed so daunting as it taunted me for months in its box. I left the class wondering why I had waited so long to open that box.
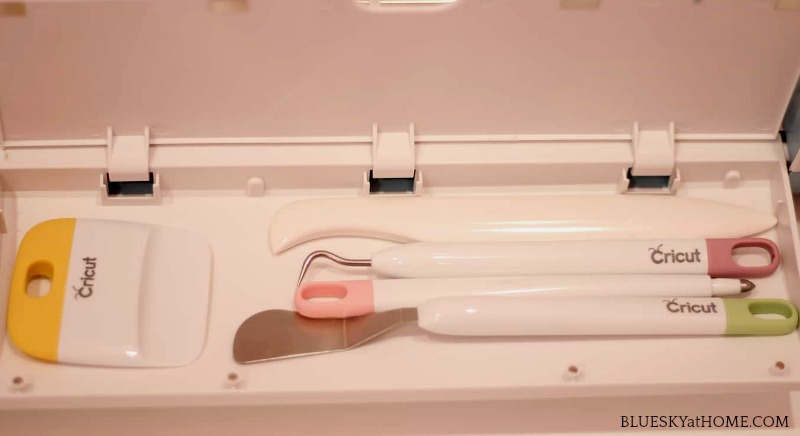
On top of the Cricut is a handy space for holding accessories or pens. I discovered that inside the Cricut is a handy compartment for storing a few accessories: the 2 types of spatulas, the weeder, and the scoring stylus.
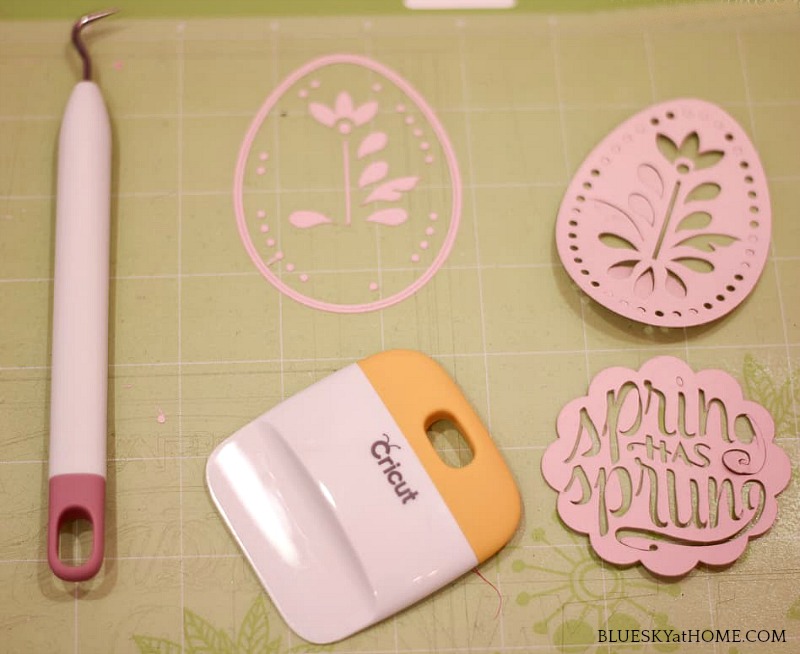
Project 1 ~ Birthday Card
At home, I set up the Cricut (it really needs a name!) in my office, connected it to my Mac, and got to work. I wasn’t going to let any grass grow under my little craft feet. But what to make? I stared at it, racking my brain for a project. Then it hit me.
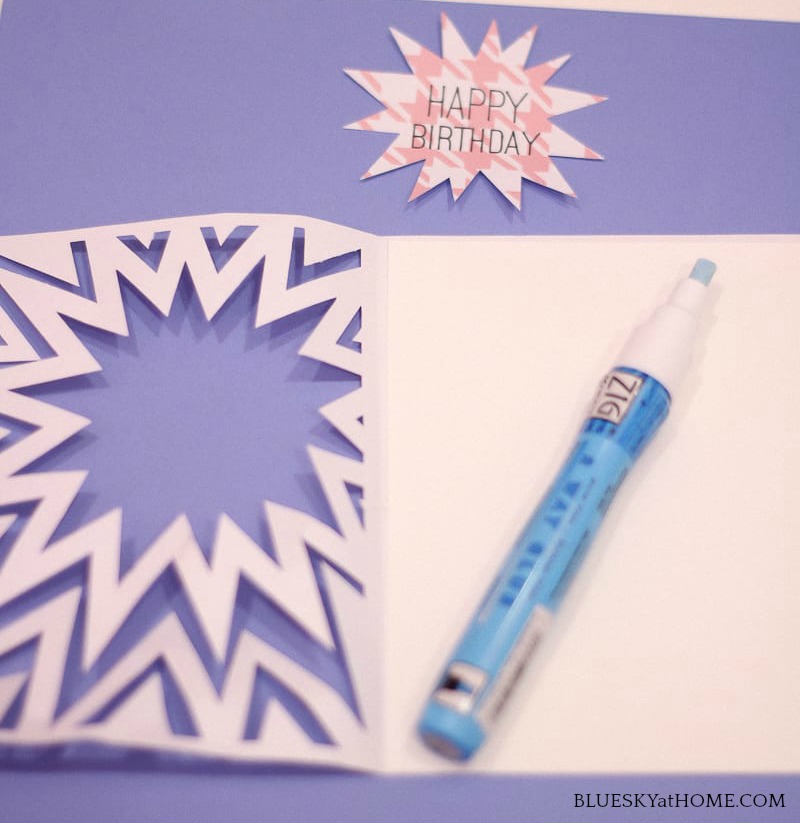
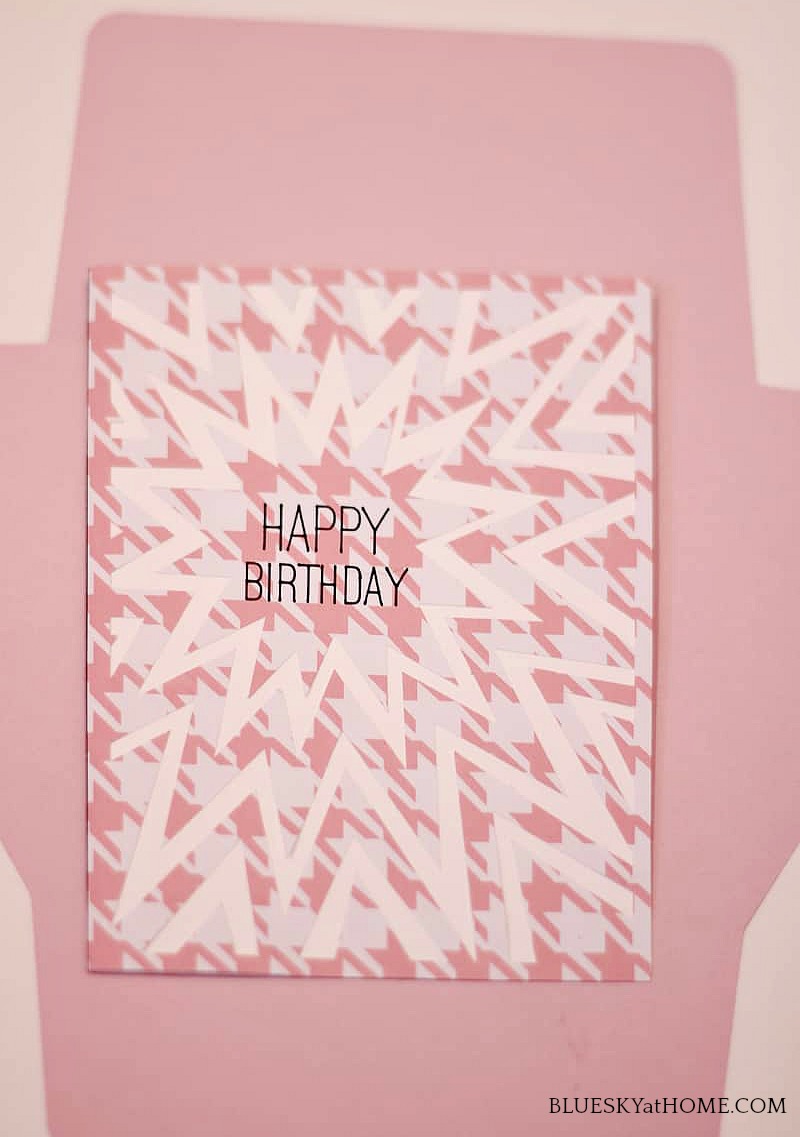
Birthday and Easter cards for the grandkids. Perfect. I could definitely do that. My younger granddaughter’s 3rd birthday was April 8th (Everyone, say Happy Birthday, Lilah.) Since I wanted to make something easy and free (We’ll talk about what’s not free a little later.), I chose the same card that we made in our class.

I just changed the color of the paper to use what I already had. I used white card stock and a cute pink and white pattern.
TIP: Just because the Cricut project uses a particular color scheme, you don’t have to use it. Just pay attention to the color substitutions you are making. You can change the color of the paper on the Cricut Design Space.
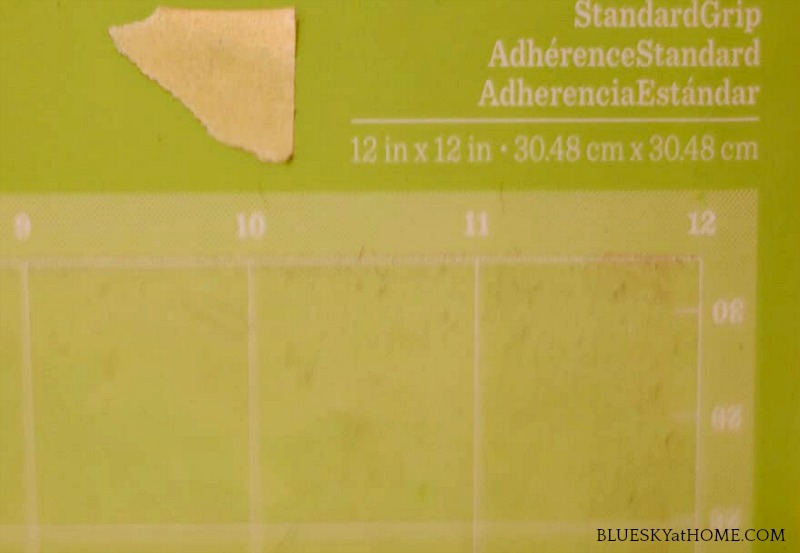
The first thing you do on a project is to remove the clear plastic film from your adhesive mat before attaching your material (paper, card stock, fabric, etc.).
TIP: Our instructor suggested that you put a small piece of masking or painter’s tape on the top of the plastic film. That way you always know which side should stick to the mat.
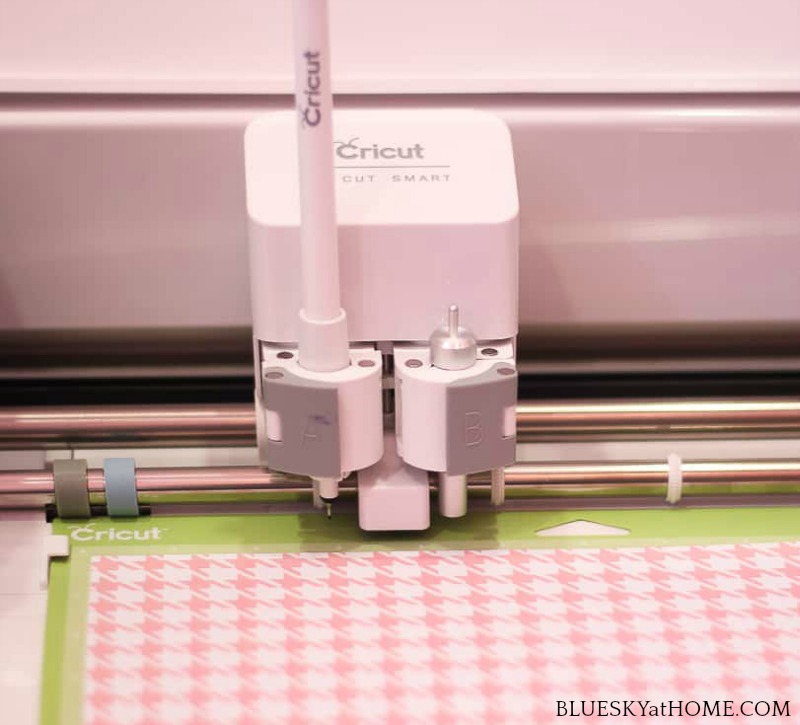
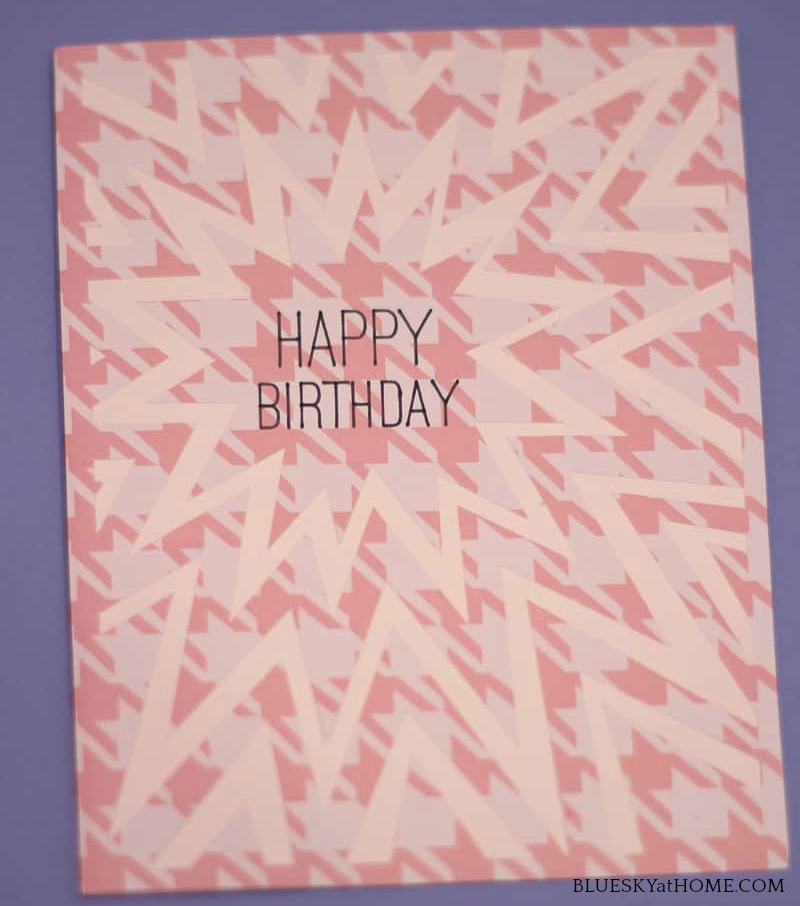
Once you write “Happy Birthday” with a black pen, the machine cuts out the decorative pattern.
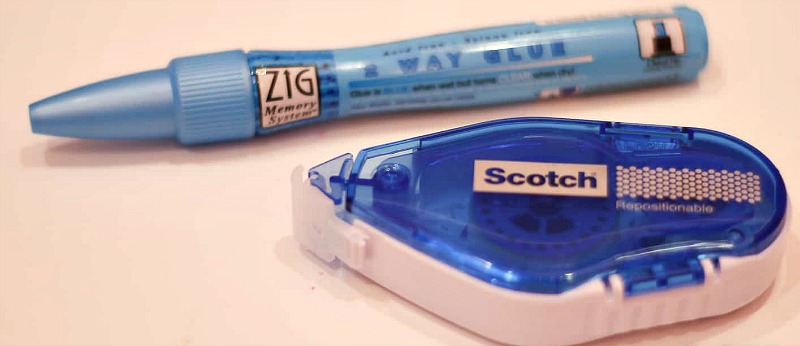
Next, you insert the white card stock and cut out the backing for the decorative cut front. I love this glue pen for doing small and intricate gluing. A Scotch repositionable tape dispenser is good for larger spaces, such as gluing the sides of the envelope together.
Here is the finished card.
For the envelope, I used pink card stock. For envelopes, you need a scoring stylus, which I bought online from Cricut.
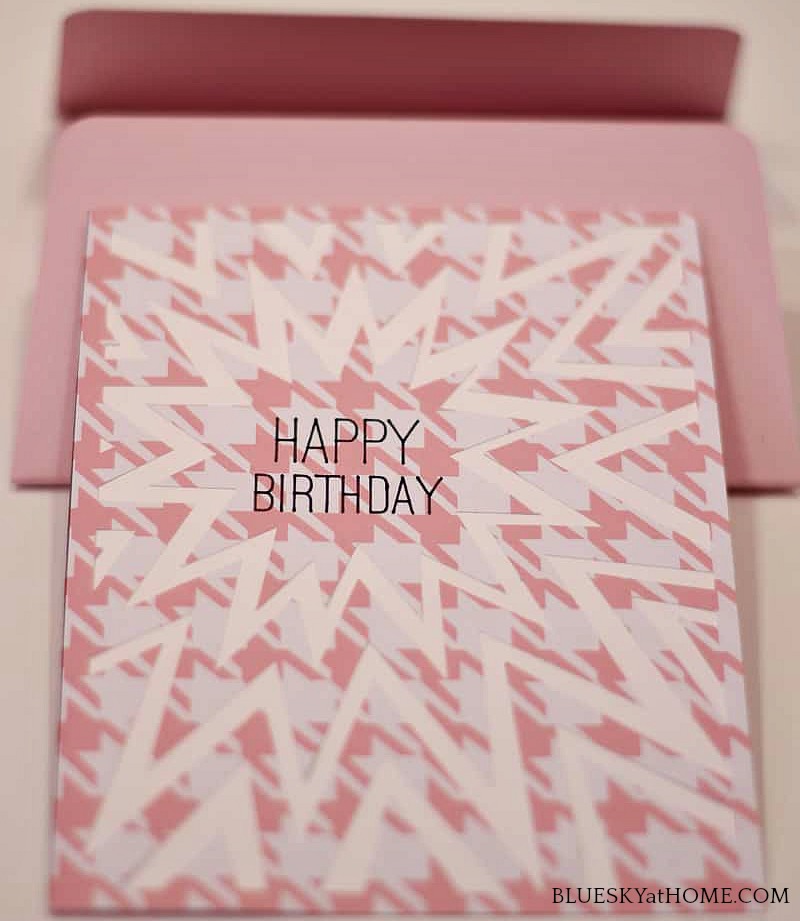
That was it. In less than 10 minutes I had a simple, but cute birthday card. My older granddaughter’s birthday is in May, so by then, I plan to produce a card that is more creative and elaborate.
Project 2 ~ Easter Cards
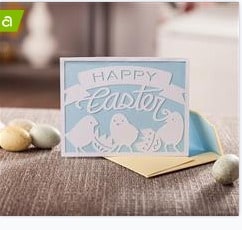
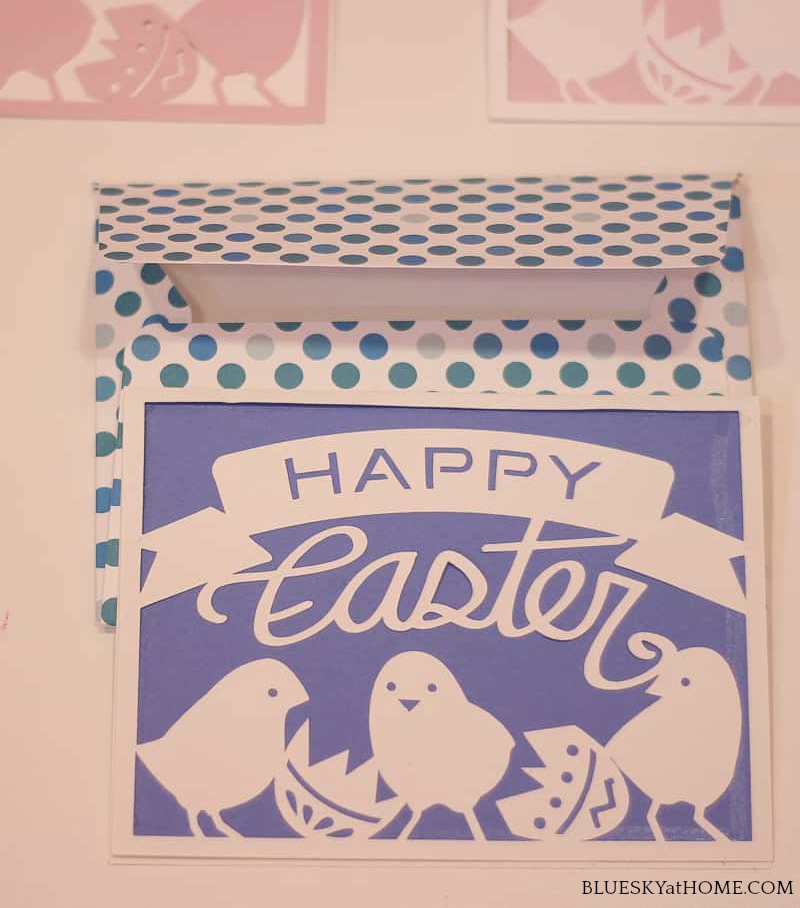
Now, to my second project: Easter cards. I decided to make Easter cards for all 3 grandkids, 2 pink ones and a blue one. This is the one I chose. It’s from Make It Now in the Cricut Design Space.
I already had pink, white, and blue card stock so I had all the supplies I needed.
I made a pink card with white backing and 1 with a white card with pink backing. Then I used patterned paper to make the envelopes. I couldn’t be happier. I think the cards are so sweet and I can’t wait for the girls to open them for Easter.
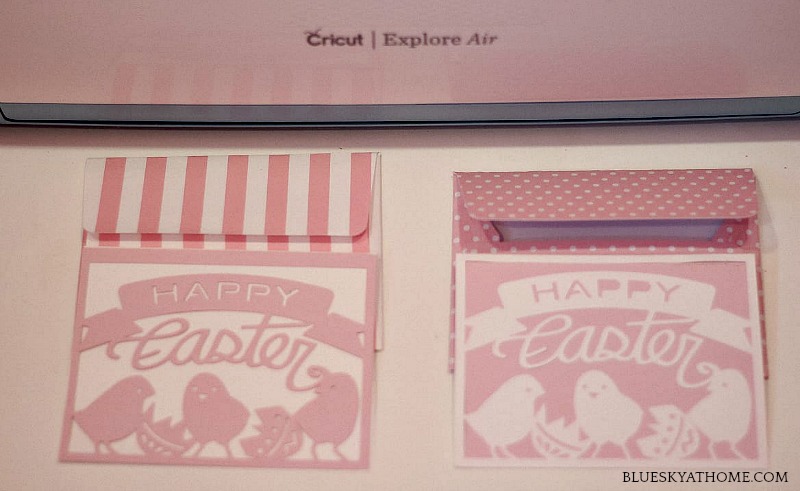
For my grandson, I made a white card with a blue backing and polka~dot cardstock for the envelope. Now I’m not sure how excited a 9~year~old boy will be to get a card with chicks on it (He likes the real ones.), but I hope he’ll appreciate it that Cici made him a card from scratch.
Since then, I’ve been playing with the Cricut images. I think it just takes time, practice, and patience. You will learn to navigate the Cricut Design Space to discover the available images, fonts, and projects. I decided to try out some of the projects shown on the Cricut tutorials.
These are really great videos: clear, concise, and instructional. I feel like Brittney, the Cricut instructor is my new best friend.
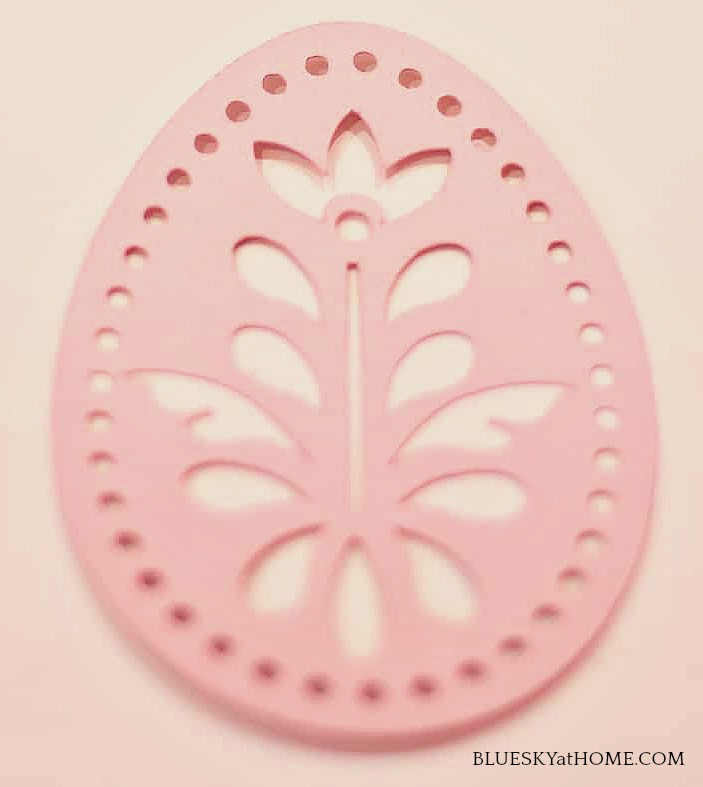
First, for practice, I used made this pretty little design.
You use the small square spatula for scraping up pieces of paper that are still stuck to the mat.
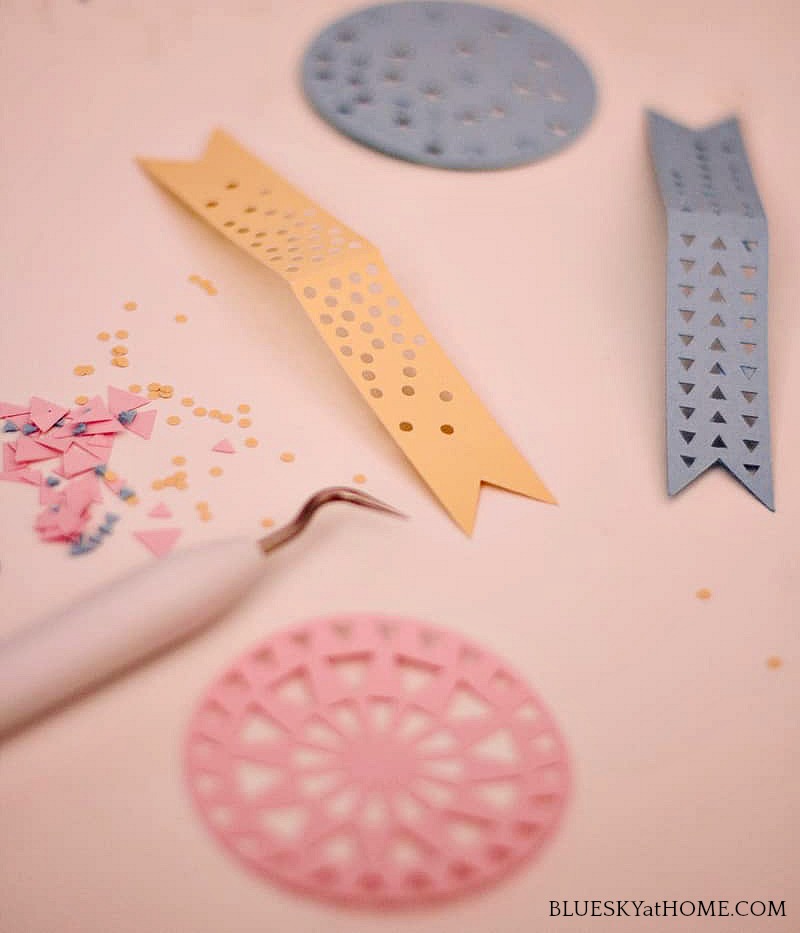
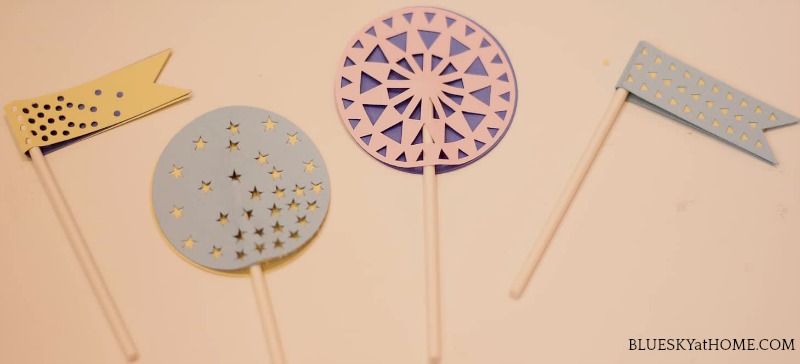
Project 3 ~ Cupcake Toppers
If you’ve been reading Bluesky at Home for a while, you know that I love cupcakes ~ and cupcake toppers. Remember these Halloween Cupcakes and cute toppers (I made cupcake toppers for them using punch~outs) and these Easter Basket Cupcakes? So I decided that my next practice project should be cupcake toppers.

After making all the cuts, I used the sharp point of my weeder to punch out in paper pieces that did not come away from the paper.
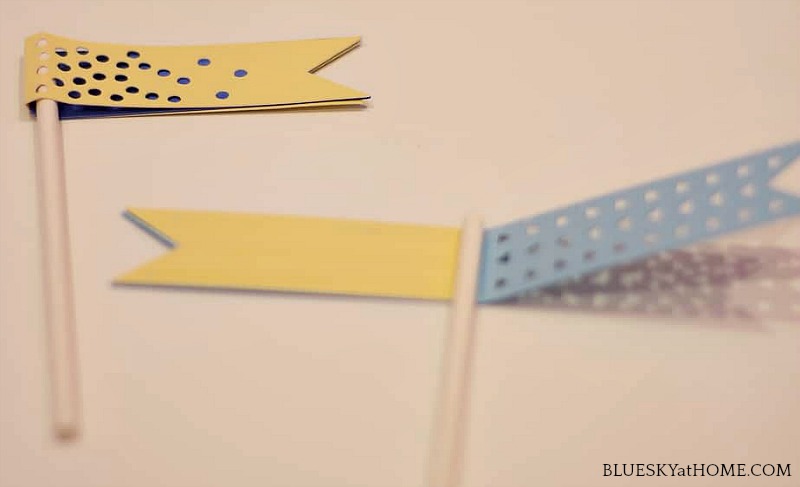
The next step is to glue the stick to the middle of the banner and glue one of the inserts onto one side of the banner.
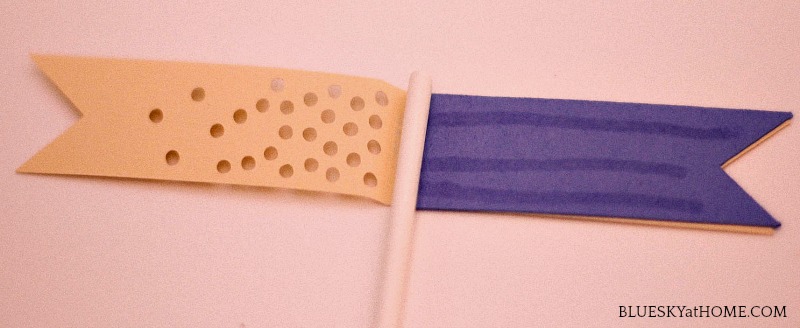
Fold over the sides of the banner on the scorer line and glue the 2 sides of the banner together.
The round designs were even easier. After the cuts, I just glued the sticks and the solid round pieces to the decorative pieces.
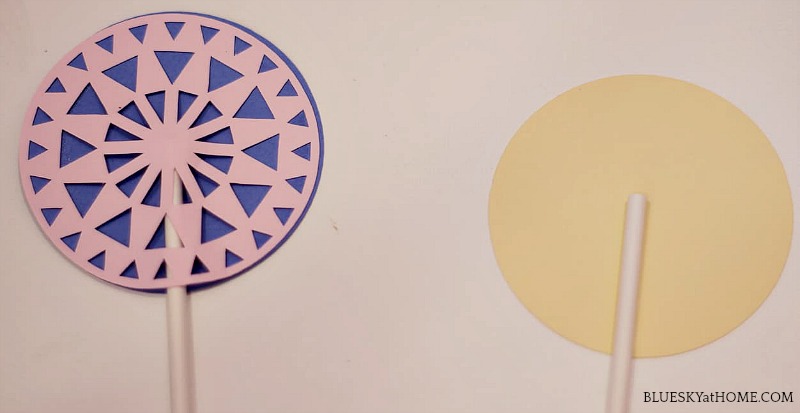
Since these were just for practice, I didn’t embellish them with ribbon. They’re not perfect but they are fun to make and with each little project, I’m learning more about how to use my Cricut.
Am I Learning How to Use a Cricut?
Yes. I certainly am not an expert, not by a long shot. but I have figured out a few things I can share. Here are the things that I learned in my first couple of weeks.
- Be patient. Any new skill, especially involving a new tool, has a certain amount of learning time. Rome wasn’t built in a day.
- Watch the videos. They are very helpful in showing you the projects you can do and how to do them. Check out YouTube, also.
- Practice. You’re learning a new craft, a new piece of equipment, new terminology, new sequencing of steps to complete a task. I bought 2 dozen pieces of card stock (the heavy scrapbook paper) on sale (50%) at Joann’s and Michael’s.
- If you have a project in mind for a real, specific purpose, then search the Create New Project section for one to use. Otherwise, pick any project that appeals to you and try it in the Make It Now section.
- Go to a class: having a hands~on experience with a real teacher and being able to ask questions is priceless. As time permits, I plan to go to more classes.
Equipment You Will Need
I remember after I had my horse for a few years, my dad said that he didn’t realize that the horse was the least of the expenses. Thank goodness he came to love my horse almost as much as I did in spite of the boarding, feed, vet, shoeing, equipment, show fees, etc., etc.
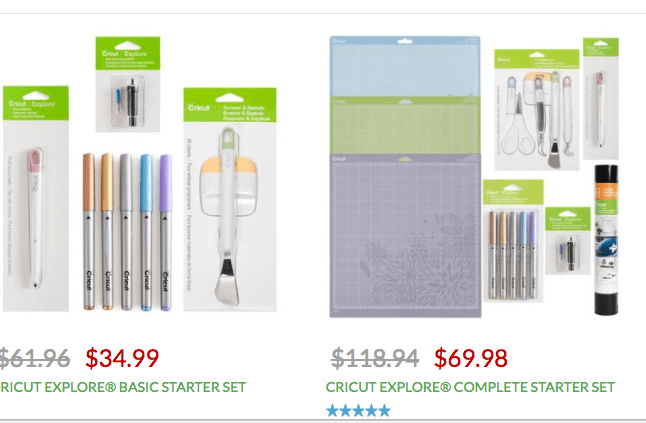
I thought of what he said in the last few weeks. Know that the price of the Cricut is not the only money you will spend. Several accessories are needed to complete any project. You can buy Cricuts with accessories on the website and it looks to be a good option.
- Mats: Your Cricut comes with 1 Standard (green) adhesive cutting mat that is used for most materials, such as card stock and vinyl. For lighter materials, such as regular paper, printer paper, vellum, and construction paper, you will need the LightGrip (blue) mat. For heavier materials, such as leather, heavy card stock, you will need the StrongGrip (purple) mat. So far I’ve only bought the LightGrip.
- Weeder: this tool helps you push out the little pieces of cut paper from projects. It also helps you pull vinyl projects off the backing. Yep, I bought this, too ~ on sale.
- Spatulas: 2 types, 1 for lifting projects off the adhesive mats, and 1 for scraping cut elements off the mat. We received one in our class at Jo~Ann’s and I bought one (on sale).
- Scorer Stylus: this is the tool that makes lines for folding. Both my local craft stores were out, so I ordered one from Cricut (on sale).
- Pens: if you want to write with a Cricut, you have to have pens. A silver pen came with my machine. Most pens come in sets, colored or black of different thicknesses. I’ve bought 2 packs, but I’ve only used 1 black pen so far. Again, I bought both packs on sale.
- Eventually, you will need replacement blades.
- Paper, vinyl, card stock, fabric ~ any material that you use in projects.
- Glue sticks or pens, tape, scissors, especially ones with really sharp points.
- Cricut Access Program: there are a ton of free projects on the Cricut Design Space, but most cost something per project, from .99 to $5.99. But if you want unlimited access to fonts and projects, you have to purchase an Access program, either paying monthly ($9.99) or yearly ($95.88). I haven’t done that yet because I’m just waiting to see what my activity level warrants.
There are other accessories, but I consider the ones I’ve mentioned above as essential to any project. Here’s my biggest piece of advice when it comes to accessories: BUY ON SALE.
This is my first post writing about the Cricut and I know it will not be my last. As I said earlier, it’s a new toy, not an inexpensive one, but 1 that I hope over time will pay for itself many times over. I hope this post helped you if you have been wondering about what a Cricut is, why you need one, and the cost involved.
If you have a Cricut or want to learn how to use a Cricut, then I hope that you will PIN this post for reference.


Wow, Carol, I am impressed! I’m still afraid to jump on the Cricut train. So glad to see that you overcame the hesitation and learned how to use it! ALl your projects are wonderful, but I really love that Easter card! Thanks for sharing at VintageCharm! xoKathleen | Our Hopeful Home
Kathleen, happy to join the party. I’m taking baby steps, but watching tutorials and reading up.
Thanks Carol for your How to Use a Cricut post. I am a new Cricut user too and you were very clear on what will make things work (supplies) better.
Joy
Joy, I’m sure it’s the teacher in me. I like things as clear as possible!